Removing and replacing the control panel bezel
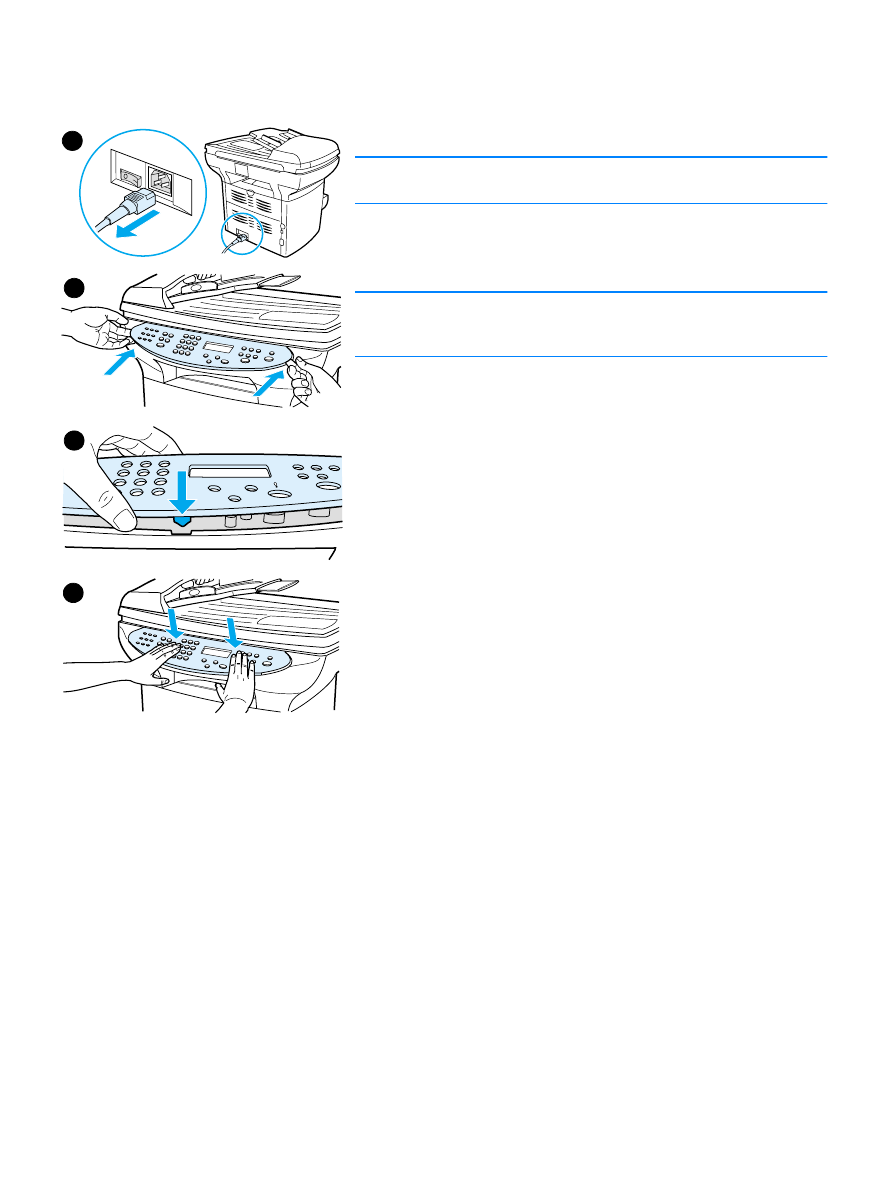
1
Unplug the power cord from the printer.
Note
If you have a 220V product, turn off the power switch.
2
Remove the existing control panel bezel by lifting up on both sides
of the bezel edges until all the snaps are disengaged. Set the old
bezel aside.
CAUTION
Be careful not to touch any components or buttons inside the exposed
control panel area.
3
Align the new bezel at the lower notch. The bezel notch should
align to the inside of the printer.
4
Press down until all the snaps are engaged, and then press
outward until the bezel is secured.
5
Plug the printer in to turn it back on. If you have a 220V product,
turn on the power switch.
1
2
3
4

136 9 Cleaning and maintenance
EN

EN
137
10